

“Mirror, show me my calendar for the week”
A DIY smart home gadget
So called “Magic Mirrors” have been popularised for decades in Sci-Fi; perhaps the most famous example is that featured in the classic Disney film Snow White, in which the mirror is used to tell the Evil Queen who “the fairest of them all” is.
Although initially, this seems like an impossible (and maybe pointless) idea, one man decided to see whether this idea could manifest as a useful smart home gadget. His name – Michael Teeuw. The basic idea of the gadget is to take advantage of a two-way mirror by placing a screen behind it, and connecting the screen to a Raspberry Pi (Raspberry Pi is a low cost, tiny computer that can be plugged into a monitor, for more information have a look at their website https://www.raspberrypi.org/help/what-%20is-a-raspberry-pi/). This screen displays information such as the weather in your area, your calendar, or even music from your Spotify account. However, by placing it behind a two-way mirror, it appears as though you have a “smart mirror”. Have a look at the links below for an example of such a mirror.
I first came across the idea after a friend asked if he could make use of an old laptop of mine – I asked him what for, and soon became fixated with the idea. This all happened whilst the UK was put on lockdown because of the COVID-19 pandemic, which only made me more excited to build this project. After all, can you think of a better way to spend your time in lockdown?! Although I haven’t finished building it yet, below are details of the progress I’ve made so far with my mirror.
Step 1: Find (or make) a two-way mirror
It turns out, two-way mirrors can be quite expensive, especially if you want to make a large mirror. I’m on quite a strict budget so I decided to try and make one instead. This involves two components – a piece of glass and some mirror film. I purchased my mirror film from Amazon. Glass can also sometimes be expensive, but luckily my parents had some old windows collecting dust in our shed, so I went ahead and repurposed these for my mirror. If you’re also on a tight budget and don’t have glass lying around your house, you can use Perspex instead, or something called Plexiglass. Once you have both items, all you need to do is lay the mirror film onto your glass.


As you can see, my first two attempts at making a mirror didn’t go so well (right image, top two pieces). My third attempt went a lot better. You can see from the image on the left that the mirror serves its purpose, although it isn’t quite as clear as a traditional two-way mirror.
Step 2: Find a Screen
You have two options for this. The first is to buy or use an old monitor or TV screen lying around your house. Beware, you want your mirror to be as thin and as lightweight as possible, so having a thin monitor is advantageous here. You also need your monitor to be either the same size or smaller than your mirror. The second option is to use an old laptop screen, and pair this with a control board (this is the route I have taken as I happened to have an old laptop lying around).

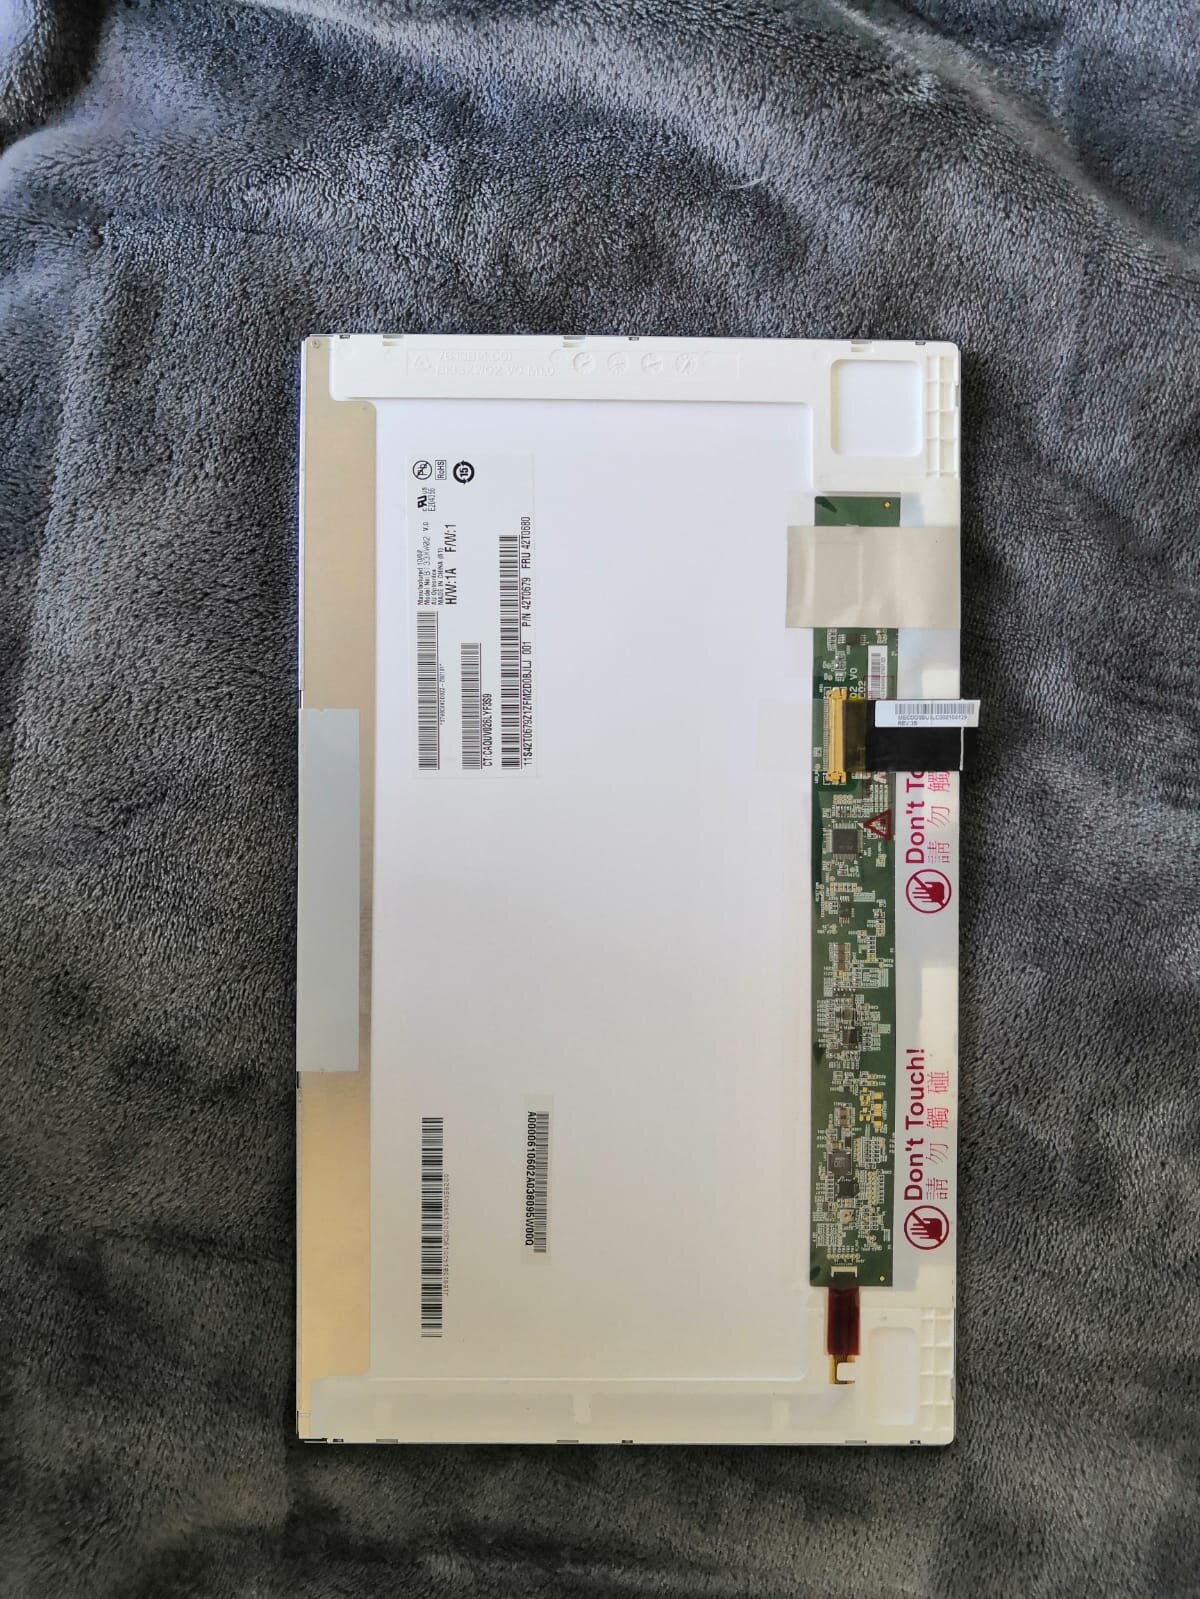

Taking apart my laptop wasn’t too difficult, plus there are loads of YouTube videos to help. To find the right control board for your laptop screen, you need to read the model number from the label on the back. Type this into eBay along with “control board HDMI” and you should be able to find the right one for you.
Step 3: Build a frame
After you have your mirror, you need a frame to contain the mirror, your monitor and your Raspberry Pi. You can either purchase a frame with the right dimensions or have a go at making one yourself (like I did below!).
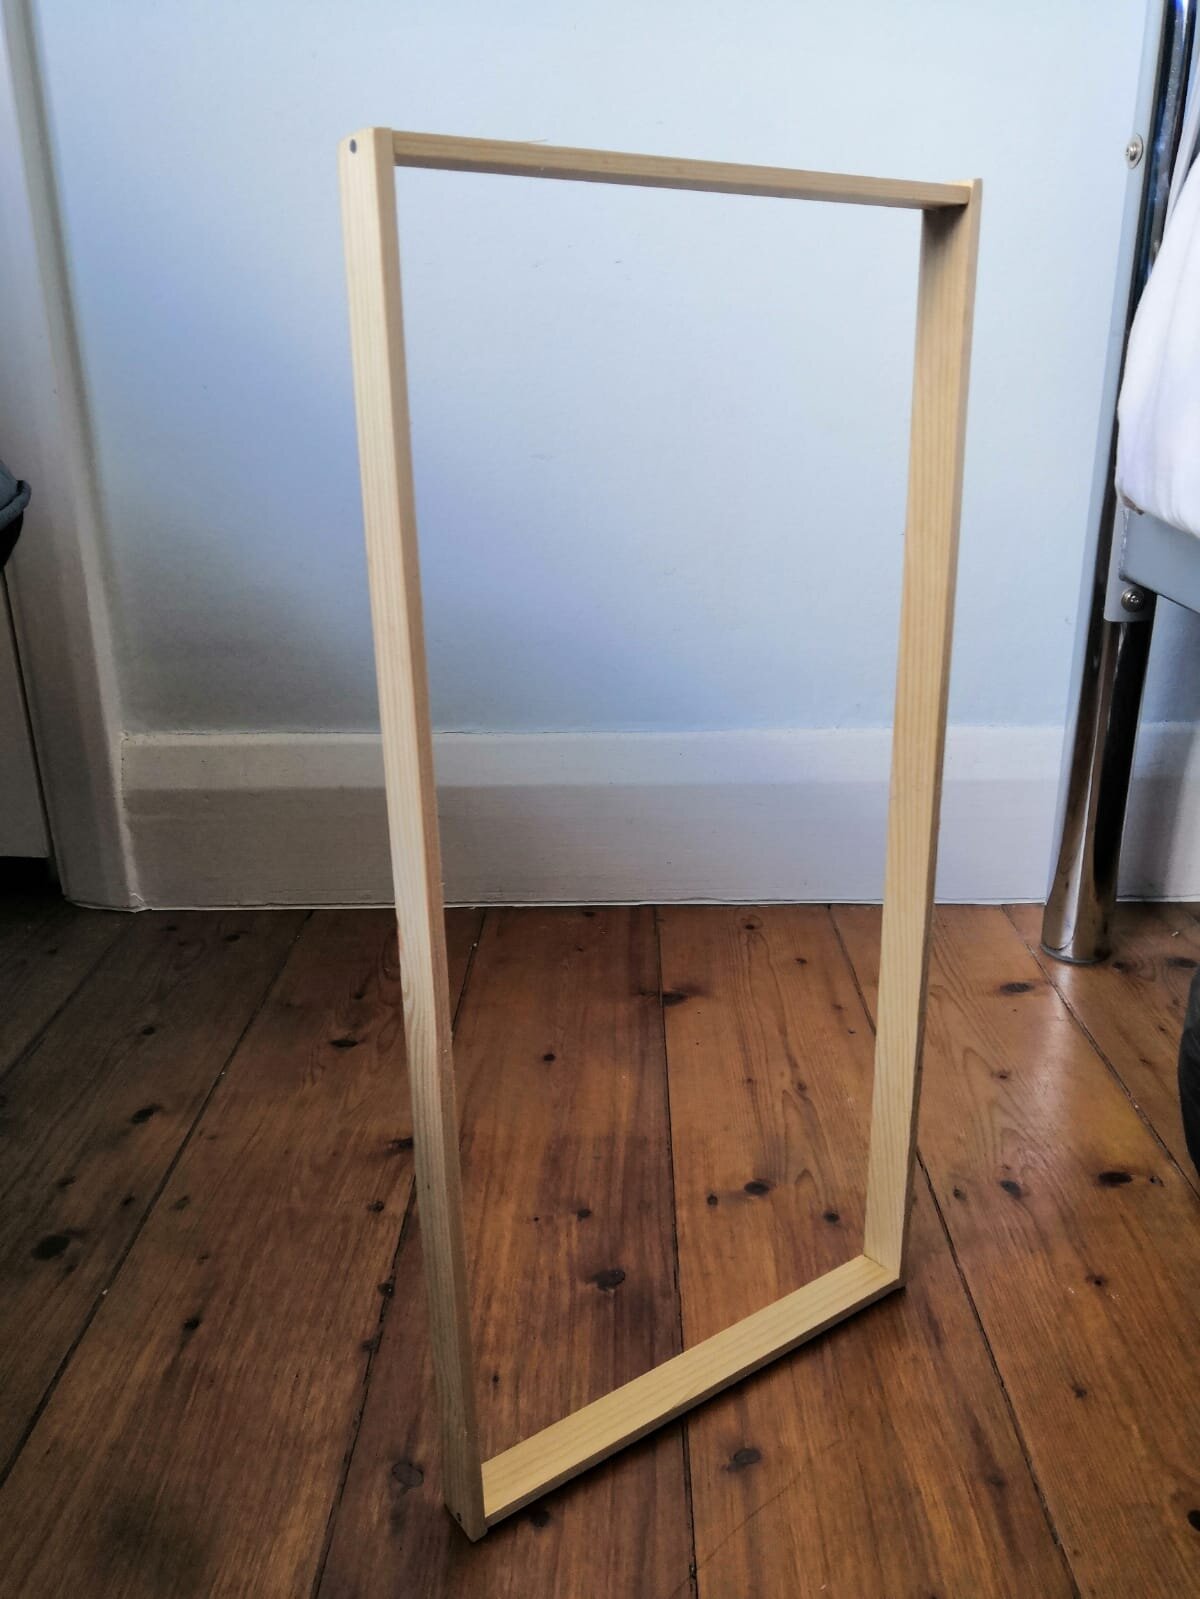

My first attempt at some woodwork went pretty well. I used a hand saw to saw my wood, and wood glue to stick the frame together. I also used nails to reinforce it. My next task is to sand down the edges and figure out how to make it look a little nicer!
Step 4: Software
Right now your Raspberry Pi doesn’t actually do anything – it needs some software! First, you need to go to the Raspberry Pi Website to install the Raspbian OS. After this, you need to go to the MagicMirror website to install the MagicMirror software. The cool thing about this is that it’s an open source project – this means that developers all over the world have created add-ons such as the Alexa voice control capability, so you can customise your mirror however you like. You can even have a go at creating your own add on (most of the software is written in Python).
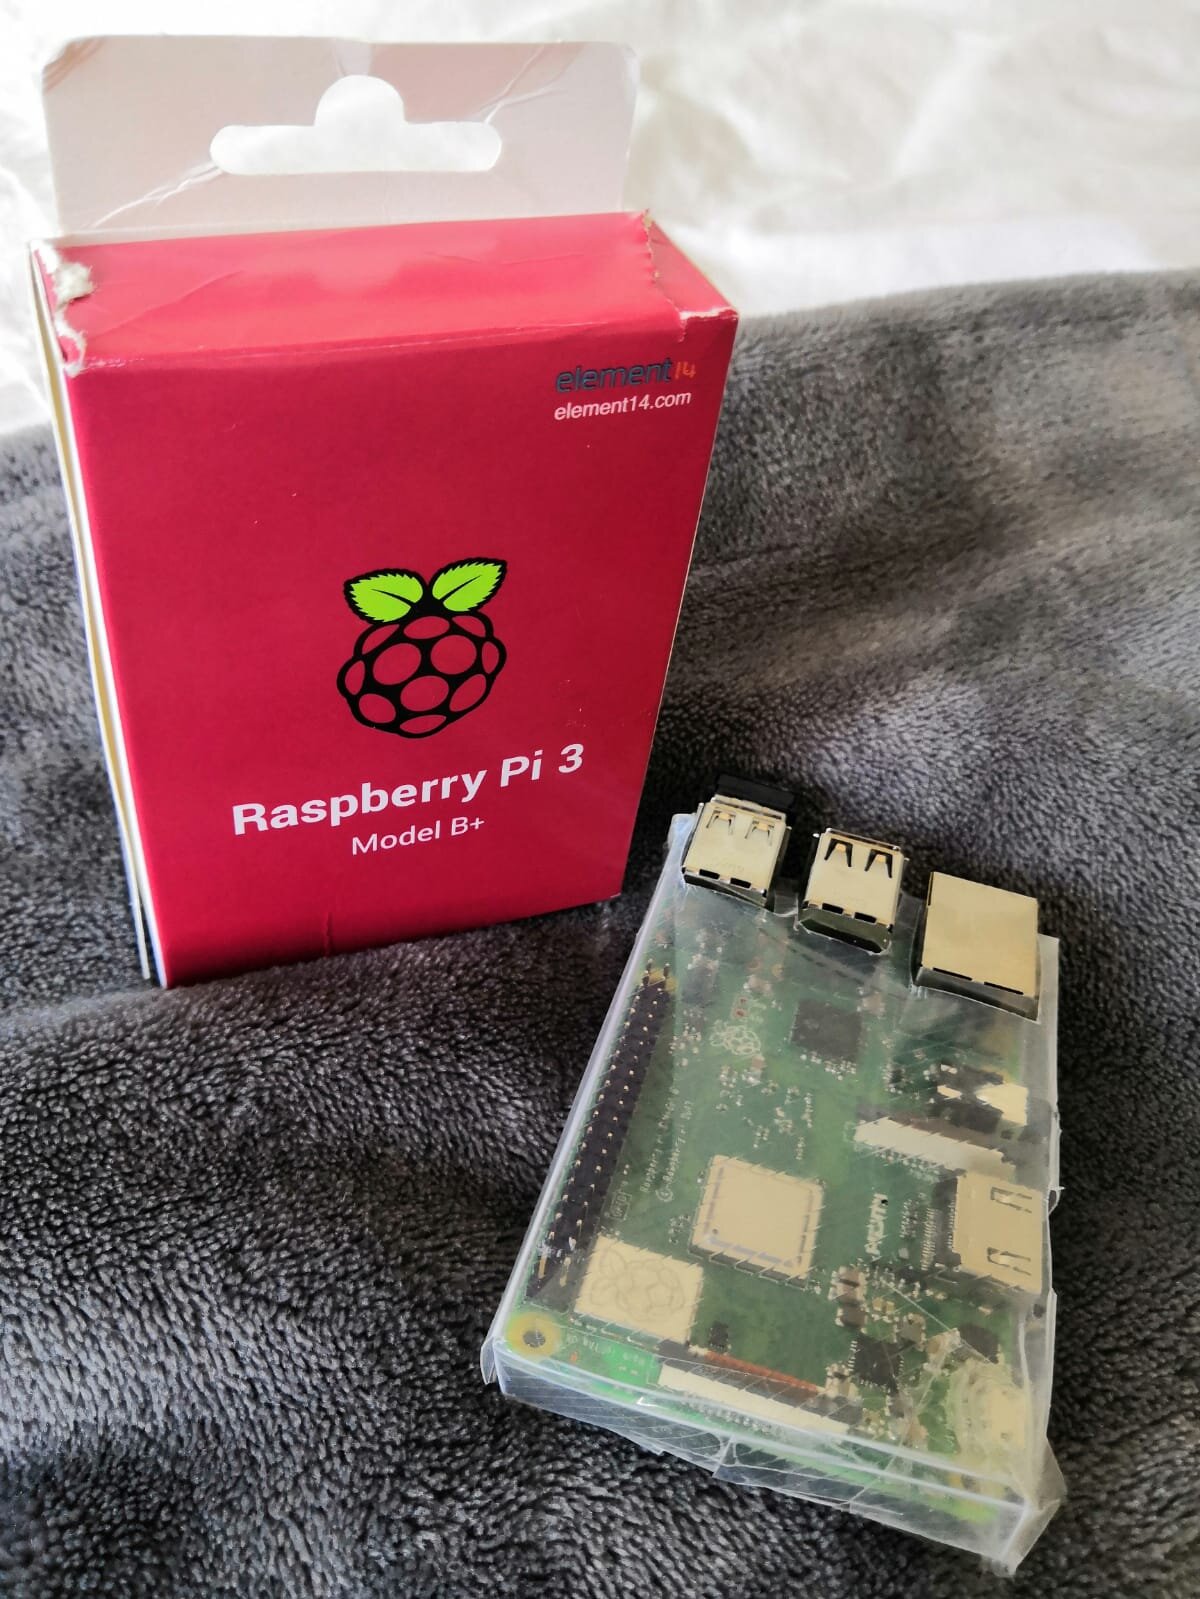
I’ve made a make-shift case for my Pi out of an old plastic folder. There are loads of templates online for cases, or if you prefer you can buy a case online.
Step 5: Assemble
I haven’t quite got this far yet! I’m still in the process of making a pretty frame, but if you want to have a go at building a MagicMirror yourself, I’ve added some links at the end of this blog post with instructions on how to do so.
Although this project seems intimidating, it’s actually not too difficult once you get going. If you’re bored, I would highly recommend having a go at building one yourself, or as a project for you and your children to do together. There are so many things to learn from building this – from coding, to electronics and even woodwork!
Links:
MagicMirror official site: https://magicmirror.builders/
Guide on how to build: https://www.howtogeek.com/414647/how-to-build-a-smart-mirror/
How to install Raspbian OS: https://www.raspberrypi.org/documentation/installation/installing-images/
Author: Richa Lad